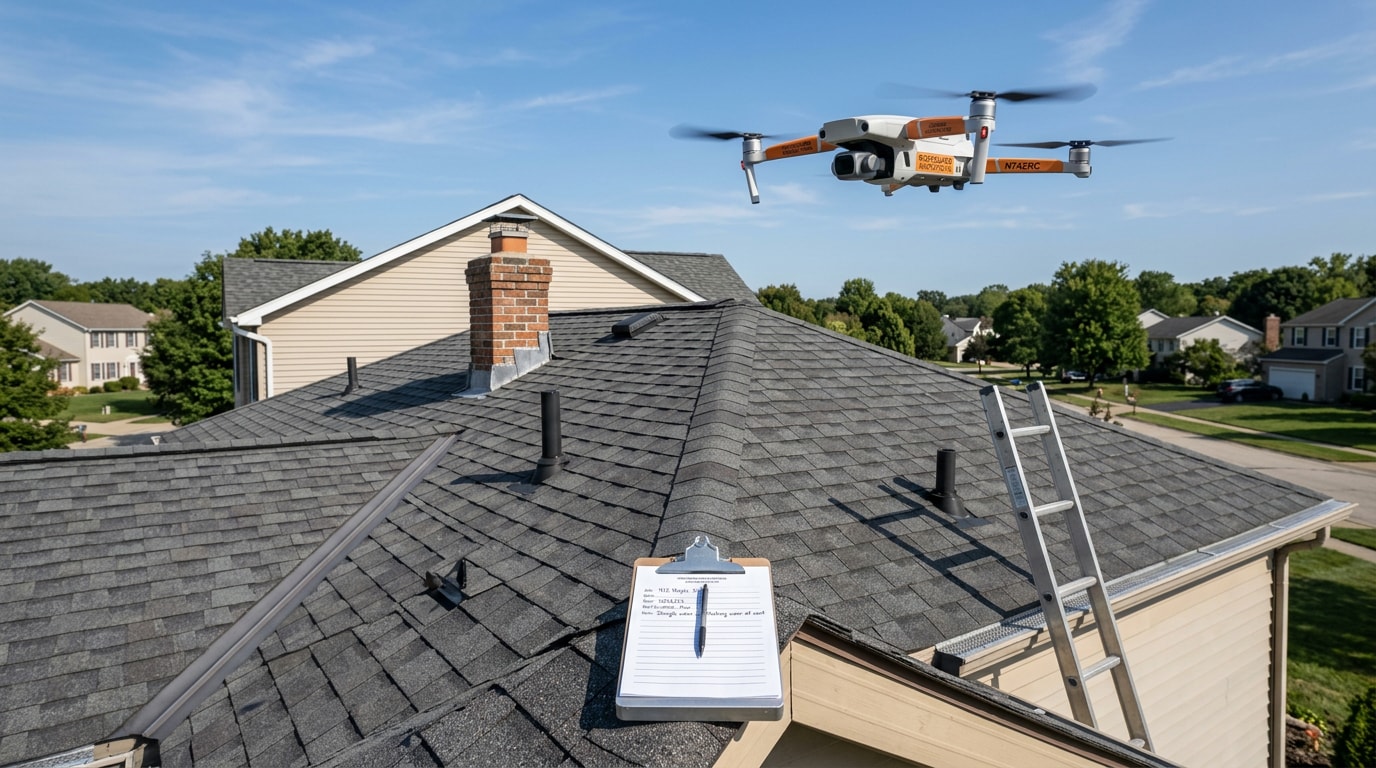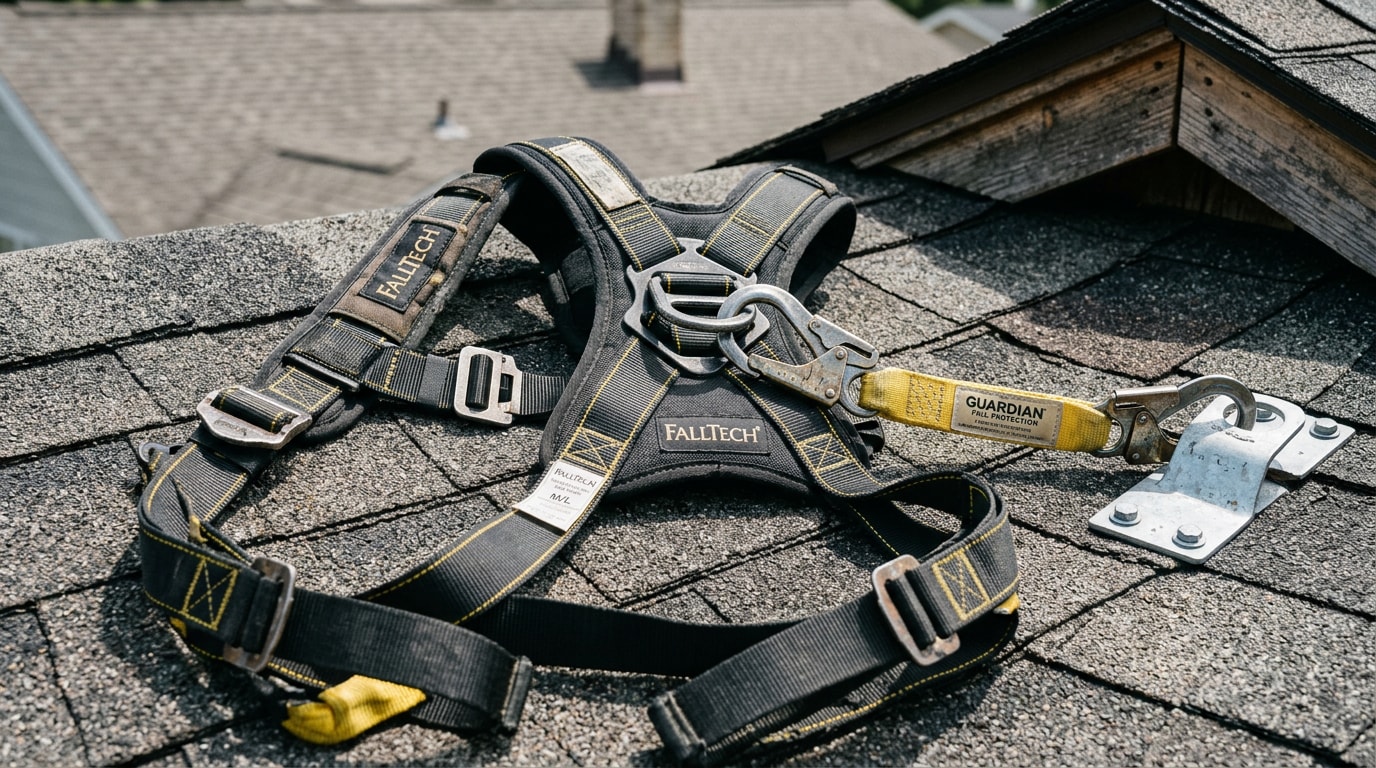
A roofing harness is the full-body rig that keeps a worker tied to the roof the moment a slip would otherwise turn into a fall. OSHA requires one on almost every roof job over 6 feet, yet the harness is only as good as the anchor, lanyard, and fit surrounding it. Here's what actually matters when you're choosing, wearing, and maintaining one.
Key Takeaways
- OSHA requires fall protection, typically a personal fall arrest system, once a worker is exposed to a fall of 6 feet or more on most construction roofs.
- Roofers have one of the highest fatal injury rates of any U.S. occupation, and falls cause most of those deaths.
- A roof bracket or slide guard is not, by itself, one of OSHA's accepted fall-protection systems. It supports footing; it doesn't arrest a fall.
- Harness fit, anchor rating, and pre-use inspection matter as much as the harness brand or price tag.
What a Roofing Harness Actually Is (and Why It's Never Used Alone)
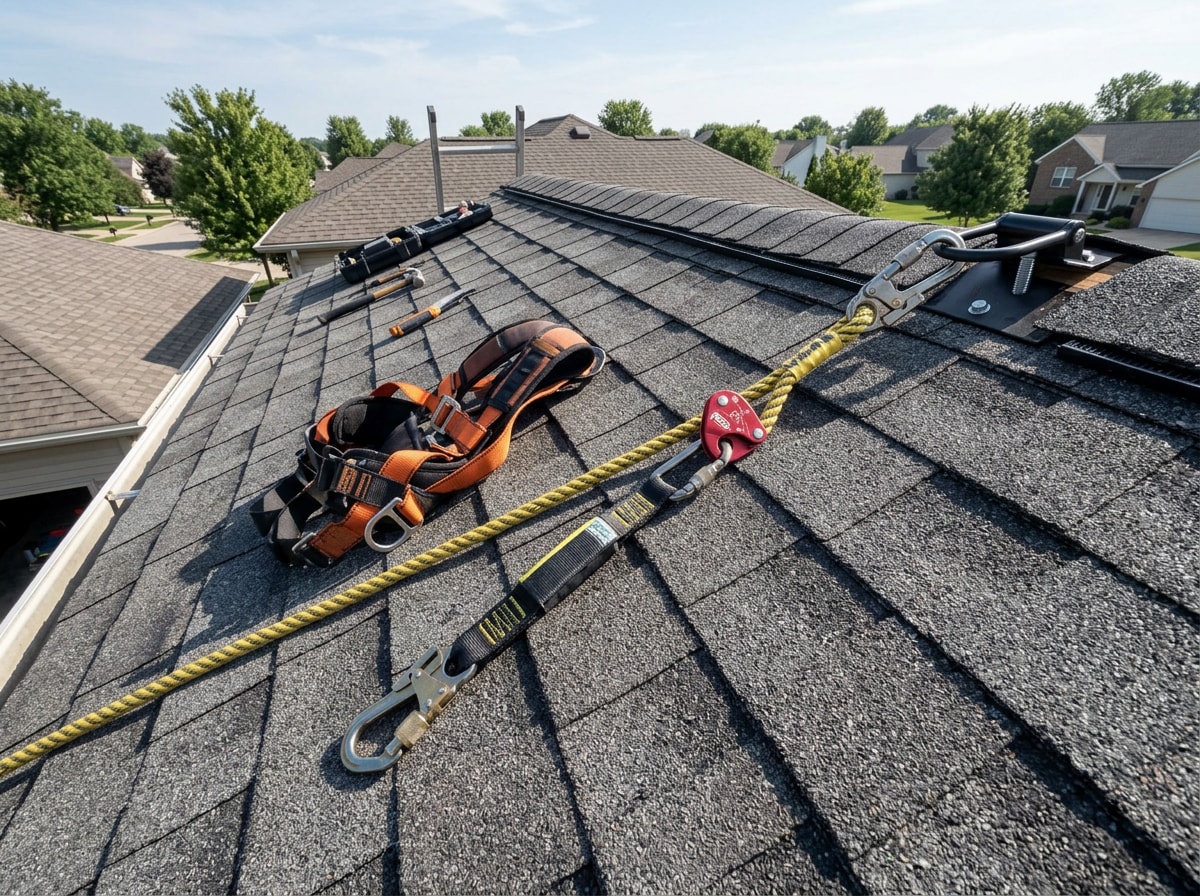
A roofing harness is the body-support piece of a personal fall arrest system, or PFAS. It never works alone. The full system also needs a connector, usually a lanyard or lifeline, and an anchor point rated for fall-arrest loads.
The harness spreads the force of a fall across the thighs, pelvis, chest, and shoulders instead of letting it concentrate on one spot. The lanyard manages slack and connects the harness to the anchor. The anchor itself has to hold up under fall-arrest forces, not just a worker's standing body weight.
Falls are not a minor risk in this trade. One CPWR analysis of BLS data found that roofers had the highest fatal injury rate of any construction occupation examined, with 47 fatalities per 100,000 full-time workers, and falls, slips, and trips were among the leading causes . That single stat is the reason every other section of this guide exists.
OSHA Rules for Roofing Harnesses
The baseline number to know is 6 feet. OSHA requires fall protection at 6 feet above a lower level in construction under 29 CFR 1926.501 . That trigger applies to new construction, tear-offs, and most repair work on both low-slope and steep-slope roofs.
Once a worker is tied in, the anchor point has to meet its own strength test. Anchorages used for personal fall arrest equipment must be independent of any anchorage used to support or suspend platforms, and capable of supporting at least 5,000 pounds per employee attached, or be designed by a qualified person with a safety factor of at least two . A harness rated for heavy use clipped to an unrated vent pipe or a guardrail still fails this test.
A common mistake worth correcting: roof brackets and slide guards give a worker a flat place to stand and keep tools from sliding off the roof. They don't replace the requirement that residential roofing work 6 feet or more above a lower level be protected by guardrail systems, safety net systems, or personal fall arrest systems . Treat a slide guard as a work platform, not a substitute for being tied off.
If your crew is reroofing after a storm, fall protection and a proper roof inspection should happen before anyone climbs a ladder, not after.
Types of Roofing Harnesses
Most roofers choose between two basic categories, and the difference matters more than brand name.
A full-body harness is the standard for fall-arrest work. It's built to catch and hold a falling worker and spread that force safely. A positioning harness holds a worker in place for hands-free tasks, like working on a chimney flash, but it is not rated to arrest a free fall on its own.
Materials and Build Quality
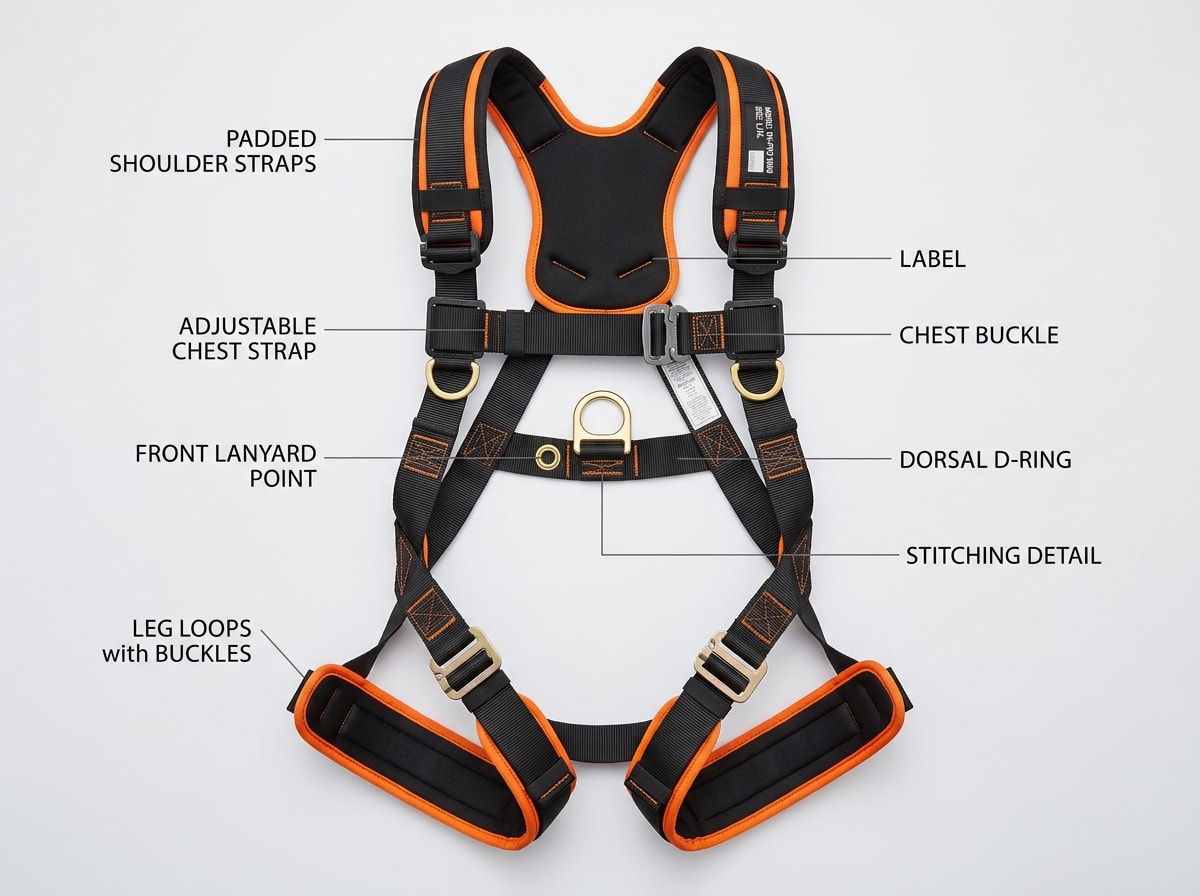
Most roofing harnesses use reinforced polyester or nylon webbing with double-stitched seams, corrosion-resistant hardware, and UV-stabilized fabric. Polyester webbing generally resists UV breakdown and stretching better than nylon over months of truck and jobsite exposure.
Padded straps across the shoulders and legs matter more than they sound. A harness that digs in after twenty minutes is a harness workers quietly stop wearing correctly. Harness design and testing in the U.S. fall under the ANSI/ASSP Z359 standard, which provides guidance on how to develop an effective fall protection program to prevent incidents and protect workers at height .
D-Ring Attachment Points
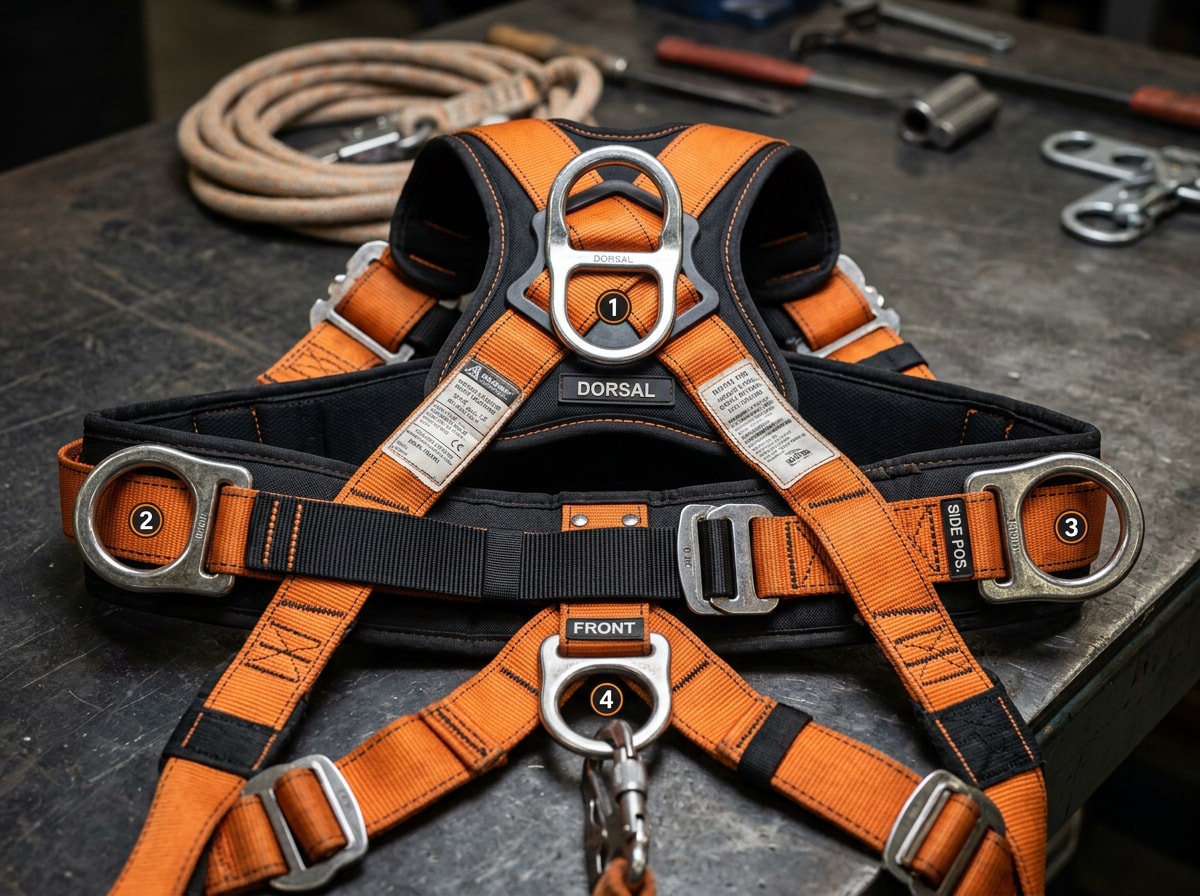
Harness hardware includes several D-ring configurations, and each one serves a different job:
- Back (dorsal) D-ring: The primary attachment point for fall arrest, sitting between the shoulder blades.
- Side D-rings: Used for work positioning and mobility, not fall arrest.
- Front D-ring: Assists with ladder climbing or controlled descent.
- Shoulder D-rings: Used for retrieval and rescue, typically in pairs.
- Multi-D-ring harnesses: Give a crew flexibility across different roof pitches and tasks on the same job.
How to Choose the Right Harness
Match the harness to the job first, then confirm it fits the person wearing it.
Key Features Checklist
- Dual back D-rings for flexible fall-arrest configurations
- Padded shoulder and leg straps for all-day comfort
- Adjustable leg and shoulder straps for a snug, low-profile fit
- Quick-release buckles that speed up donning and removal
- A visible impact indicator that flags a harness after it's absorbed a fall
Before picking a harness, walk the roof's pitch, height, and edge exposure, and factor in weather. Steeper or higher roofs call for more deliberate anchor placement and, often, a backup anchor in case the primary one is compromised.
Fit and Comfort
A harness should be sized to torso length, waist size, hip circumference, and leg length, not a generic small/medium/large tag. Adjustable straps let a worker get a snug fit that won't snag on tools or ladder rungs.
A loose harness shifts during a fall and concentrates force unevenly instead of spreading it the way it's designed to. In our crews' pre-work checks across Highlands Ranch and Douglas County jobs, the single most common fit mistake isn't bad gear, it's a shoulder strap left loose enough to ride up in the first few minutes on the roof.
Harness Cost Tiers
Price tracks with build quality, certification, and included accessories more than with brand name alone.
| Tier | Typical Price Range | What's Included |
|---|---|---|
| Entry-level kit | $40 – $100 | Basic 5-point harness with a short attached lanyard, minimal padding |
| Mid-range kit | $100 – $200 | Padded straps, multiple D-rings, quick-connect buckles |
| Professional bucket kit | $150 – $350+ | Reinforced harness, 50-ft lifeline, reusable roof anchor, storage bucket |
| Premium harness only | $300 – $500+ | All-day comfort padding, multiple D-ring configurations, top-tier webbing |
Setting Up a Roofing Harness on the Job
A harness is one piece of a sequence. Getting it right means ladder access, a stable work surface, the harness itself, and enough clearance below to actually stop a fall before it becomes a ground impact.
1. Get Onto the Roof Safely
Use an extension ladder tall enough to extend about 3 feet above the roofline, and clear the roof surface of debris first. A ladder that's too short forces an awkward step-over at the edge, which causes injuries before a harness is even in play.
2. Set Up Footing, Not Just a Fall-Arrest Plan
If you're using roof brackets or a slide guard for footing, install them before connecting anything to the anchor. Remember: this step helps with traction and tool storage. It is not one of OSHA's three accepted fall-protection systems on its own.
3. Put the Harness On and Connect
Put the harness on over clothing and adjust the shoulder and leg straps for a snug but not restrictive fit. Connect the lanyard or rope grab to the dorsal D-ring, then clip the other end to a rated anchor. Confirm there's no unnecessary slack in the line before starting work.
4. Check Fall Clearance Before You Need It
Add up free-fall distance, deceleration distance, harness stretch, and worker height, then build in a safety margin. On a typical residential anchor setup, total clearance needs often run higher than crews assume, especially with a longer lanyard. A loosely set anchor with extra slack can turn what should be a short fall into a ground-level impact.
Inspection, Maintenance, and Storage
Check the harness before every use for cuts, fraying, chemical staining, stiff or discolored webbing, and loose or broken stitching. Inspect anchors for corrosion and lifelines for abrasion. Confirm D-rings and buckles rotate freely and close securely.
Beyond the daily check, the ANSI/ASSP Z359.2 standard provides guidance for building a comprehensive managed fall protection program , which typically includes a documented inspection by a trained, competent person on a regular schedule, not just a glance before climbing the ladder.
Store harnesses dry, away from direct sunlight, chemicals, and sharp edges that weaken webbing over time. Retire any harness that's arrested a fall, even if it looks fine. Internal fibers can be compromised in ways you can't see from the outside.
If your roof needs more than a harness check, that is, an actual inspection for storm or wear damage, our roofing inspection checklist walks through what a thorough inspection should cover before a crew ever gets on the roof.
When to Call a Professional Instead of DIY-ing It
A harness, anchor, and lanyard only work as a system if they're rated correctly and installed by someone who knows what "rated" actually means on your specific roof. For anything beyond a quick, low-risk repair, a licensed roofing contractor carries the training, equipment, and insurance that a one-time DIY setup usually doesn't.
If you're weighing a repair against a full tear-off, or you're not sure your roof's pitch and height call for more than a basic harness, get a free estimate from Crestline Exteriors before you climb up.
FAQ
Does OSHA require a harness for roofing?
Yes. OSHA generally requires fall protection, which usually means a harness connected to a rated anchor, once a worker is exposed to a fall of 6 feet or more on most construction roofs. There's no exception for quick or short-duration jobs.
What type of harness is used for roofing?
A full-body harness is the standard for roofing fall-arrest work because it spreads fall forces across the thighs, pelvis, and shoulders. Positioning harnesses handle specific hands-free tasks but aren't a substitute for fall-arrest protection.
Does a roofing harness need a separate anchor?
Yes. A harness only connects a worker to the system. The anchor is what ties that system to the structure, and it has to be rated to support at least 5,000 pounds per attached worker, independent of anything supporting a platform below.
Can roofing harnesses be used on steep roofs?
Yes, as long as the system includes a rated anchor and the harness is adjusted correctly. Steeper pitches generally call for more careful anchor placement and shorter lanyards to limit how far a worker can fall before the system engages.
Does a roofing harness expire on a set schedule?
There's no universal calendar expiration built into most manufacturer or OSHA guidance. Condition determines retirement, not age. A harness that fails inspection, shows UV damage, or has arrested a fall gets retired immediately regardless of how old it is.
Can I attach a roof harness to a chimney, ladder, or scaffold?
Not just because it looks solid. An anchor point has to be designed, evaluated, and approved for fall-arrest use. Guardrails and hoists are specifically excluded as attachment points under OSHA's construction rules, and an unrated chimney or ladder rung offers no guarantee it will hold.
How much does a roofing harness cost?
Entry-level harness kits with a basic lanyard typically run $40 to $100. Professional-grade kits with reinforced webbing, multiple D-rings, and a complete bucket setup can run $150 to $350 or more, and premium harnesses alone can exceed $500.
---
Written with input from Crestline Exteriors' field crews, who perform roof inspections, repairs, and replacements across Littleton, CO and the greater Denver metro. Our estimators and roofers use OSHA-compliant fall protection on every job that requires it. Have a question about your roof or a project in mind? Contact Crestline Exteriors or visit our homepage to see our full range of services.